by Kuo-Wei Lee
This is part 1 of a 3 part blog post that discusses the process of projection mapping.
DJ – Disc Jackey
Concept:
Before talking about the concept, let’s take a look the original picture.
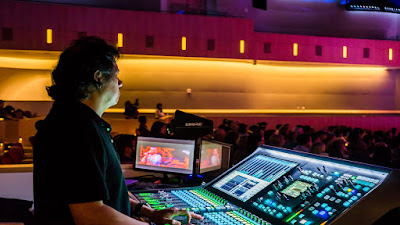
This is one of my work which was taken in the amazing e-collective concert with a jazz band Terence Blanchard.
We are in this 21st century, and we take advantage of advanced technology to let our daily life more and more convenient. I consider 21st century as a “Digital Century”. Everything is binary 0 & 1 combinations in digital world which is extremely simple but ordered. The shapes are based on circle, triangle and square.

My work – Disc Jackey (DJ) is under this concept, I google searched digital pattern, and the results fitted to my thought, so I use these elements in the mad mapper to complete my work.

MadMapper Elements
Process:
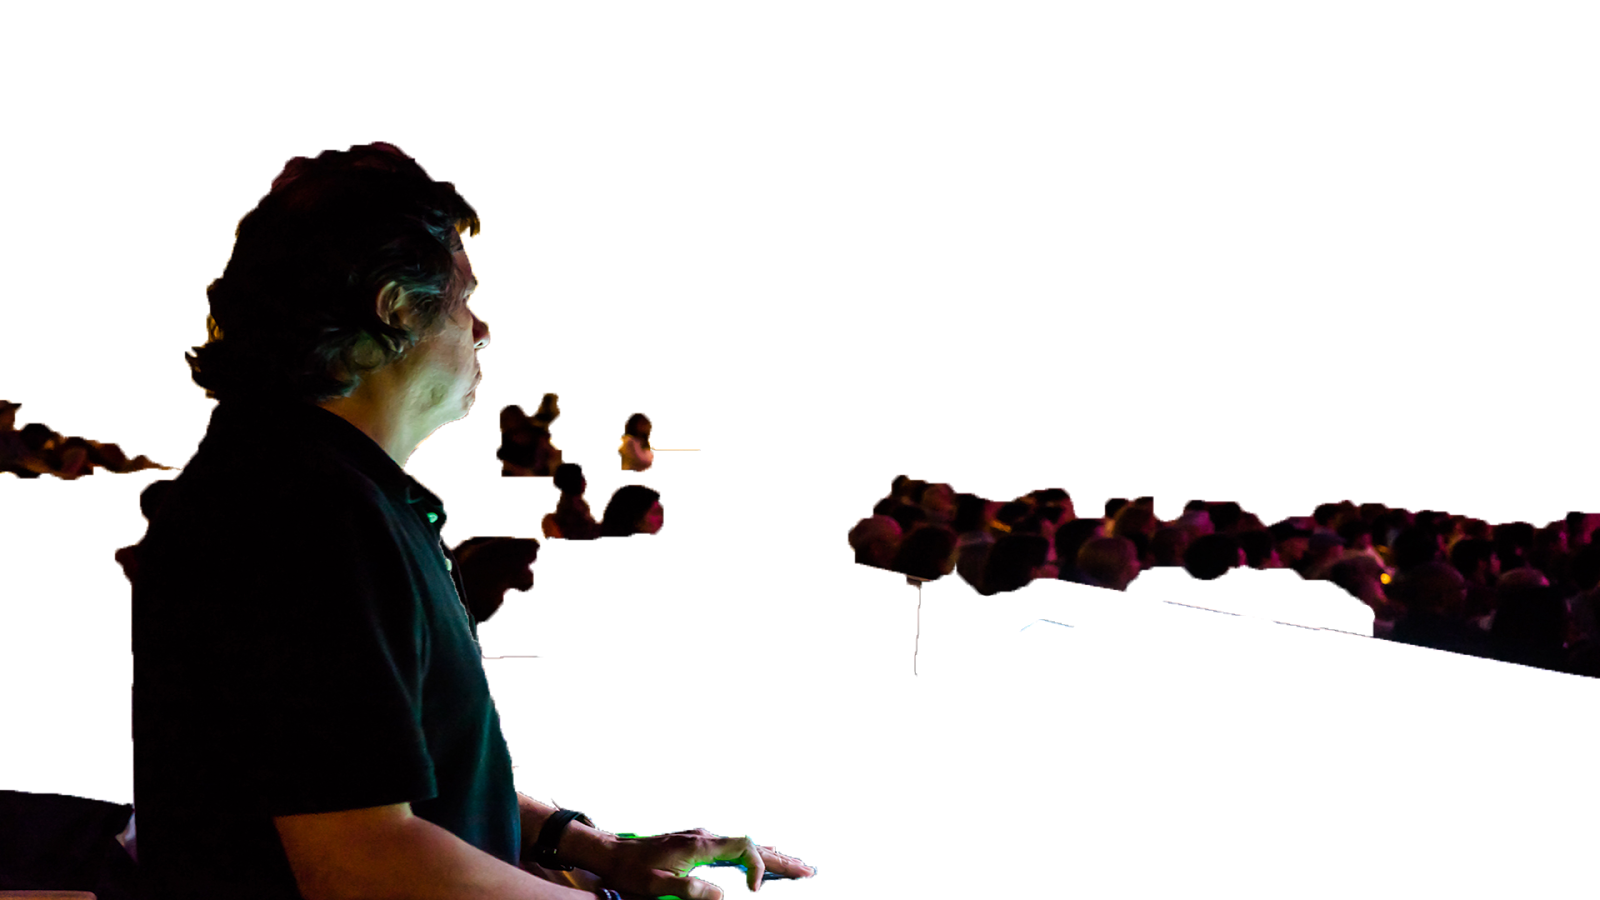
First, I use Photoshop to do a real quick masking which will be used in MadMapper to set them to be front(The top layer). This trick can let the figures won’t be affect by the other light manipulations.
And then use quad to block the area where I am going to play around.
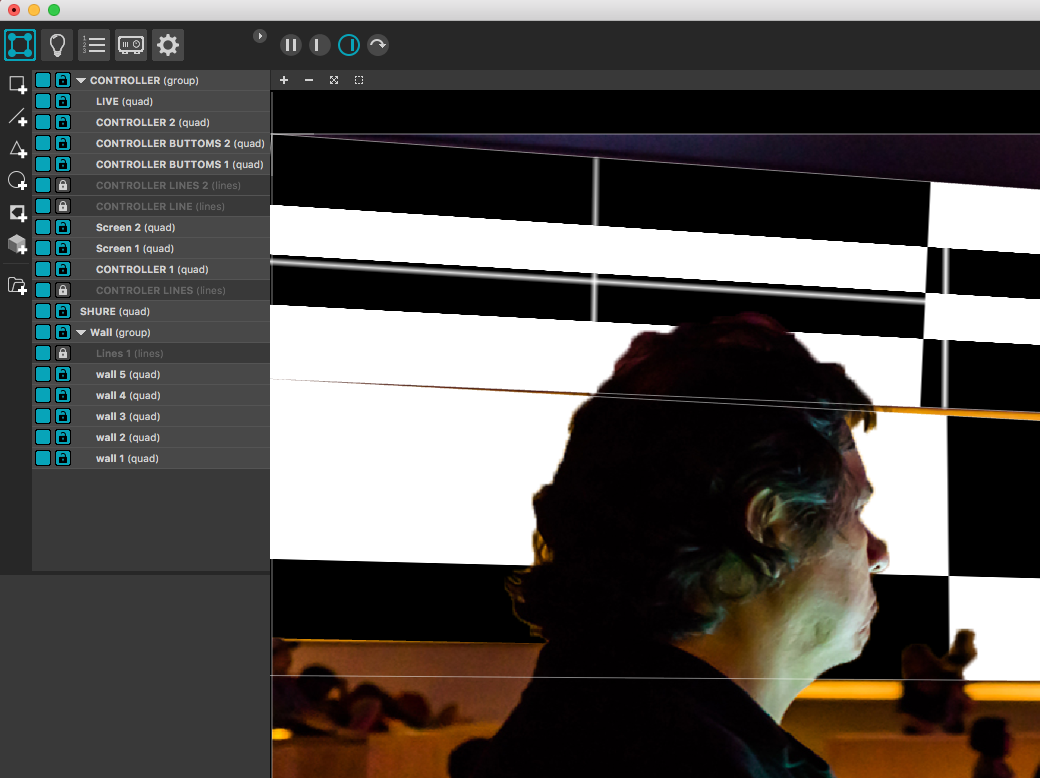
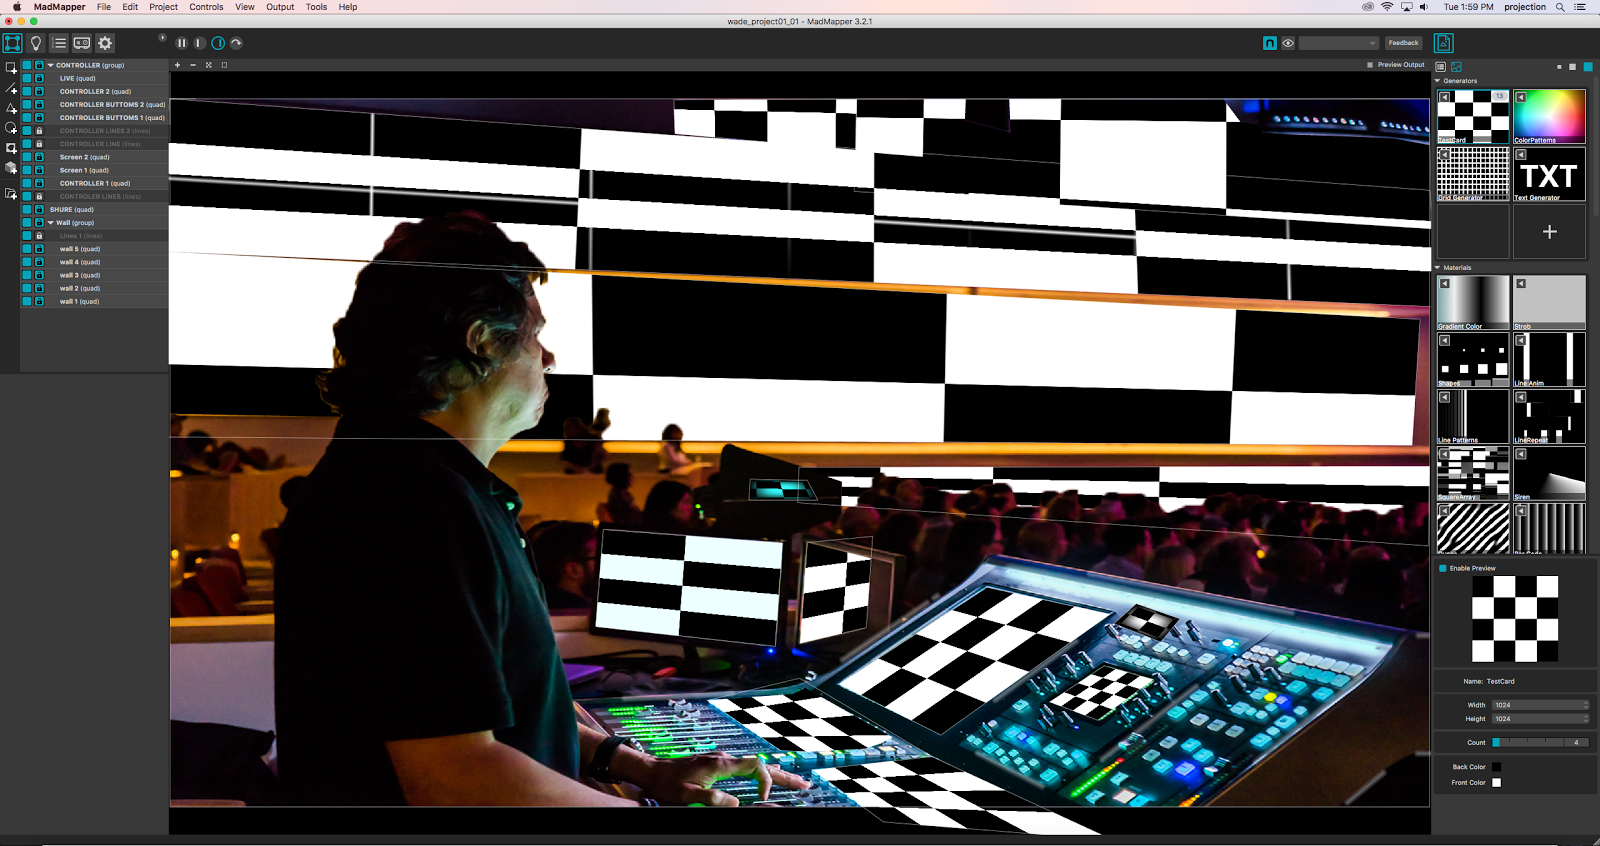
You can see that figures won’t be affected because they are on the top of layers.
The next step is to implement the materials that I would like to represent my Disc Jackey!
Disc Jackey
Process
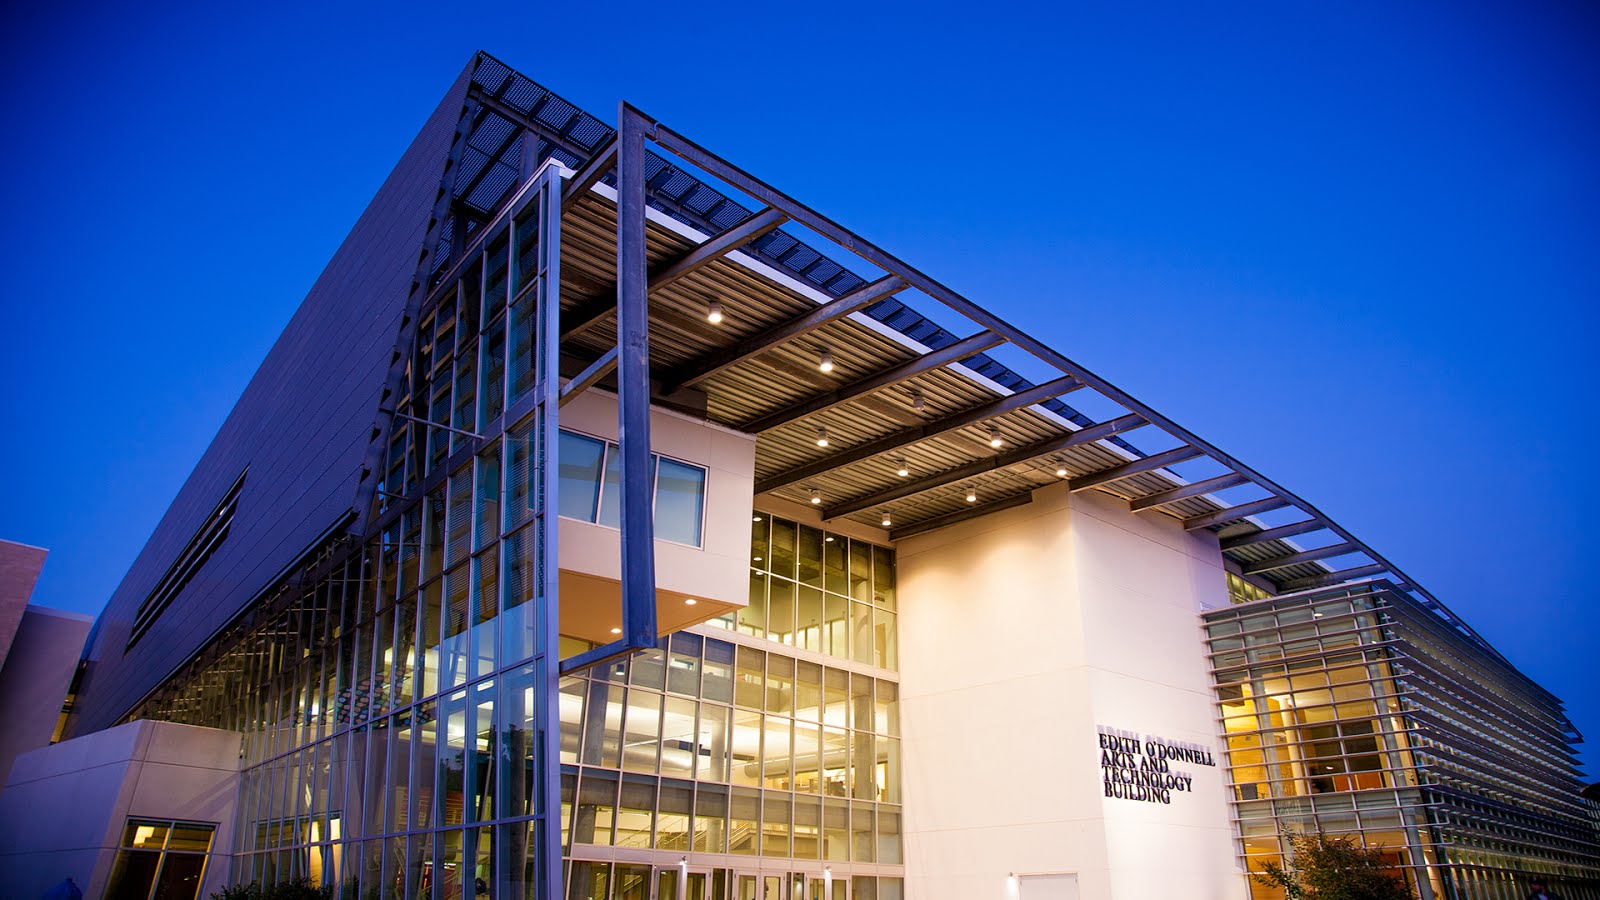
UT Dallas ATEC
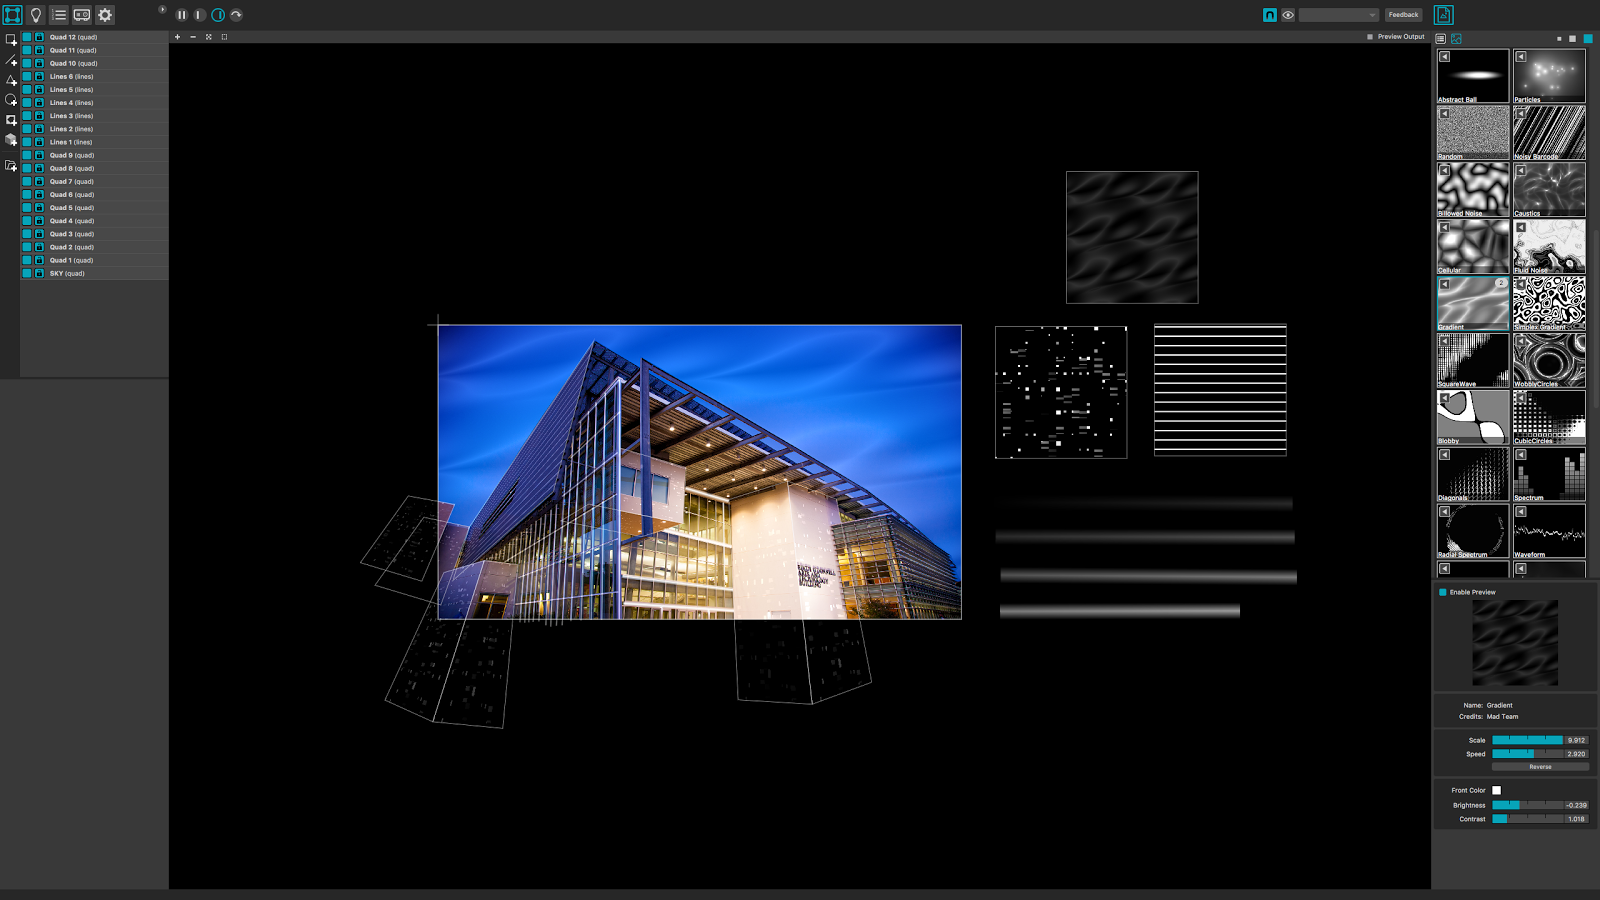
This is my another practice, I want to keep my design being simple, so I just use line, square to build this work.(except sky)
UT Dallas ATEC
Wade has also published this content on UT Dallas’ Projection Mapping website.
